
How to post best quality for social media images and video's
How to create the best quality version of your picture or video before posting it to Instagram or Twitter. Keep your resolution of your images, but increase the quality.

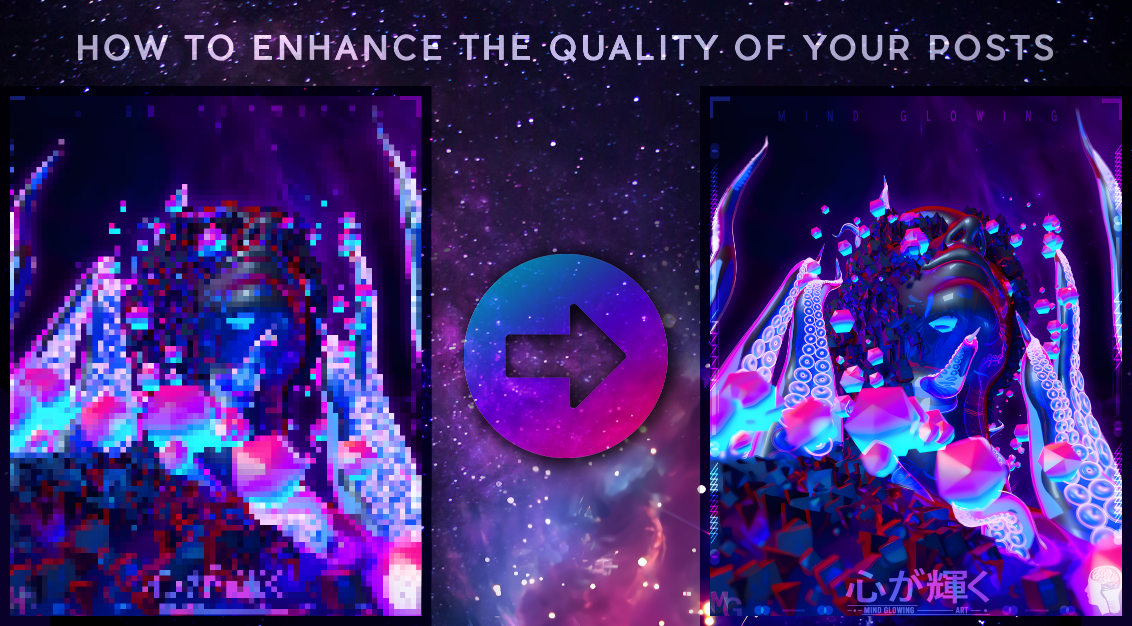
A guide on how to enhance your pictures or video's quality
In this guide I will teach you how I found out to post my pictures and video's of the highest quality to Instagram.
I have been looking all over the internet to find a way to post my pictures and video's to Instagram without it being totally butchered in quality. Instagram tends to do some weird things when compressing images when uploading them. Everyone is having this problem and the internet is full of guides on how to get a better quality result.
This guide will contain a combination of tricks I found along the way that I found useful, since everyone is saying a different thing I tested so many to perfect the quality of my posts.
Increase the quality of your picture using AI
Upscaling an image is not how we are used to how upscaling works. Using AI, your computer will guess which pixels need to be created instead of just upscaling the pixels and dividing them.
Install an AI application to increase quality
Download the following tool:
 AaronFeng753
For those who don't know how Github works, go to Releases in the right sidebar as shown in the screenshot below.
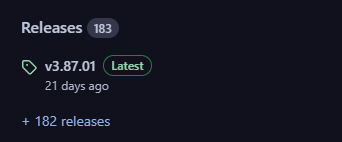
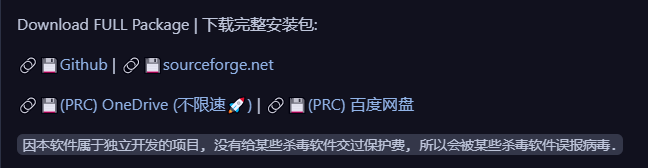
Then Download FULL Package click one of the links to start the download.
Now extract the files to your computer and save the folder somewhere you would remember.
Now open the folder and open the bat file provided in the folder.

The first time you open the application, it will run a compatibility test. Wait until it's done.

Now the installation is complete, let's head to the next chapter on how to use it.
How to use Waifu2x Extension GUI?
Instagram is using a 4:5 ratio, therefore I use a resolution of 864 x 1080 for my pictures.
- Drag and drop the files that you want to increase the quality on
- Set the Settings Presets to 2D Anime - Enlarge & Interpolation - Ultra Quality Slow
- Set the custom resolution to the resolution of your picture, in my case I mostly use 864 x 1080 for my pictures and hit the check Apply to all and then hit the button Apply
- Set the Scale ratio to 4
- Hit the Start button and let the AI do its work

You now have a better quality of your picture in the same resolution in the folder where your original picture is located under the name:
Name-of-your-picture_waifu2x_864x1080_png.pngFor video's it's the same process except that the AI will deconstruct the video in every frame, then render all the frames separately and reconstruct the video
Tips
- If you don't set the custom resolution you can make your images or video in 4K without having to create it in 4K. Sometimes your computer can't handle Photoshop files in 4K or it takes forever to render a video in 4K. Not anymore with this handy tool.
- Use the Facebook Creator Studio to send out your Instagram posts. Especially for video's I have seen an increase in quality. I must say though that it bugs a lot and sometimes is quite stressful to use.
Disclaimer
I was very hesitant to post this since this can be abused. I have faith and trust you all to use this only with your own assets.
I also want to thank the people who are contributing to the Waifu2x-Extension-GUI project!